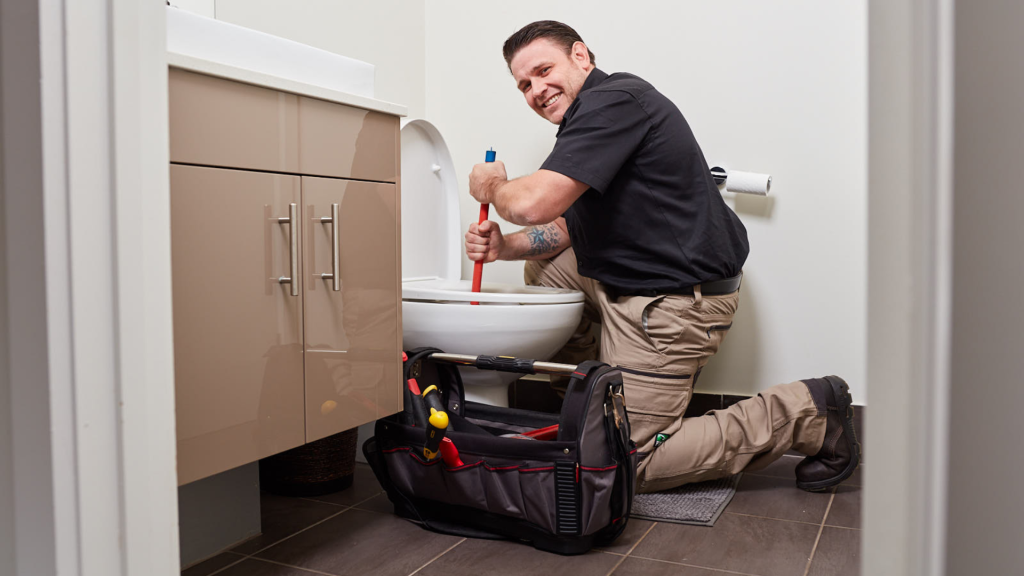
Replacing a toilet seat is an easy do-it-yourself project for your home. When a toilet seat gets older it may loosen, break or discolour. If this is the case in your home perhaps it is time to replace your toilet seat. This will only require 5-10 mins and basic household tools.
What you will need :
- Rubber gloves
- Measuring tape
- Disinfectant spray
- Paper towel
- A flathead screwdriver
- Adjustable wrench or multigrip pliers
- WD-40 spray or spray oil (optional)
Before replacing your toilet seat, measure the lid to ensure you purchase the right-sized replacement. This will save you a drive back to the hardware store.

Step 1: Locate Fixings
First thing first, put on your rubber gloves, when touching the toilet we want to stay safe and clean.
Now locate the fixings that are connecting the toilet seat to the bowl. These should be two connections that act as hinges for the seat.
Your toilet seat will either have top fixings or bottom fixings. Now using your measuring tape, measure the distance between these two fixings.
Comparing this to your new toilet seat will determine if it will fit your toilet. As most toilets are a standardised size this should ensure a perfect fit.

Step 2: Get your new seat
The best place to purchase a new toilet seat is from a hardware store such as Bunnings Warehouse, they have a wide variety of options. When going to the store take a picture of your toilet hinges and seat, this will allow the staff at the store to verify that your desired seat will fit your system.
When choosing the style of your next seat, some things to keep in mind are the features of the seat, many newer toilet seats have an array of benefits such as:
- Soft close
- Quick release
- Double flap
- Hinged seats
- Child training
- Junior seats
- Raised height
Not only do toilet seats have functions but also come in an array of designs and materials. Some are sturdy, others are easier to clean and some are more affordable.
- Plastic (Lightweight) – A cost-effective option that is simple to clean
- Thermoplastic – A durable option that is simple to clean
- Wooden – An aesthetic and sturdy option
Determine the shape of your toilet seat. The four most common shapes that toilet seats come in are:
- O Shape
- D Shape
- Link suite
- Square
It’s best to keep in mind the aesthetic of the bathroom while working within your budget. A quality toilet seat will last much longer than cheaper options, it is common for cheaper seats to have weaker hinges and flimsy plastics that will break over time.

Step 3: Remove the old seat
Look at the back corners of the toilet seat. There will be plastic caps where the hinges are attached to the bowl. Gently use your screwdriver to pry each of them off.
If there are no bolt caps, you will just see the bolts attaching the hinges of the seat to the bowl.You will see bolts running through the bowl, attached to plastic nuts. Use the wrench to loosen these nuts. Remove the bolts. You can turn the nuts by hand until they come off.
If you are struggling to remove the bolts, spray WD-40 directly on the bolt and wait a few minutes, this will lubricate the bolt.
You will be able to remove the toilet seat easily after these bolts have been removed. Once you have removed the bolts and the toilet seat, take this time to clean the top of the toilet bowl with your disinfectant, this is easier to do with no toilet seat in the way.

Step 4: Install the new seat
Installing the seat is the same process as removing the seat just in reverse. Set the new seat in place. The hinges on the seat will be pre-attached. Place these where the previous hinges were and slot them in.
Bolt holes should line up with existing holes in the toilet bowl. Put the bolts through the holes in the hinges and bowl, with the head of the bolt on top. Thread the nuts onto the bolts.
Turn the nut onto the bolt until it is as tight as you can get it by hand. Use the wrench to tighten the nut slightly more. They should create a snug fit connecting the seat firmly to the bowl of the toilet.
Check the installation instructions that came with your seat to ensure you haven’t missed anything.

Step 5: Test
All that’s left to do is ensure that the seat is firmly attached before use. After this, you can clean the seat with disinfectant and it is ready for use. If the seat is loose when you sit on it, you may have to tighten the bolts. Discard the old toilet seat and you are done.
All your plumbing needs
If you found this plumbing task too difficult, it is perfectly fine to contact a licensed plumber to assist you, this is also a great opportunity to have a plumber look over the simple tasks in your home such as dripping sinks and low water pressure. This will save you money on multiple visits from a plumber.
Before the plumber attends your home create a list of issues you would like them to have a look at, This saves time and will best optimise their visit.
For all your plumbing needs there’s Service Today; Service Today provides only the most highly trained expert plumbers. So, if you require a plumbing service, don’t hesitate to call us now on 1300 859 383 for a competitive quote.
Call us or book online today. See for yourself why thousands of Australians have given Service Today their 5-star tick of approval!

The post How to replace a toilet seat (Simple) appeared first on Service Today.
from Service Today https://www.servicetoday.com.au/blog/how-to-replace-a-toilet-seat-simple/

No comments:
Post a Comment